3 minutes
Build and Deploy Hugo Automatically using CodeBuild
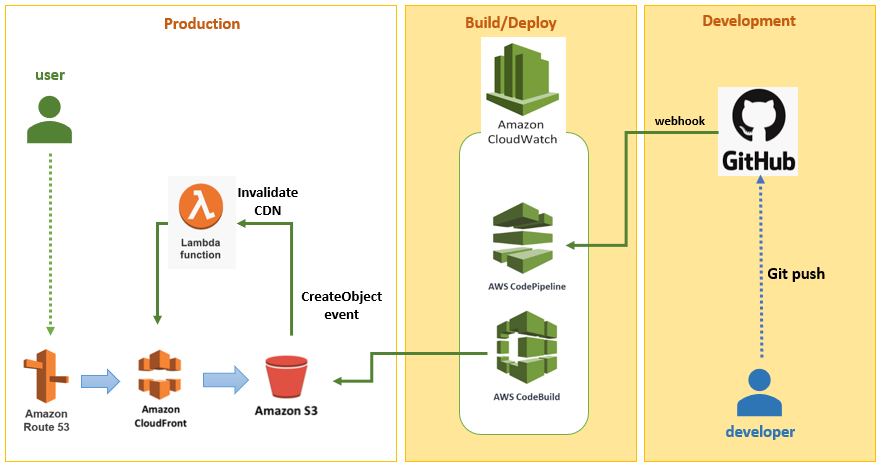
From my previous posts Hosting Static Website in AWS and Invalidating CloudFront Distribution using Lambda function, I hosted my website in S3 and used CloudFront for the CDN. I have also set up automatic invalidation of my CloudFront distribution.
For this small project, I will be building up my CI/CD pipeline to automatically build and deploy my website to my S3 bucket. My codes are uploaded in GitHub so I will be using AWS CodePipeline to monitor my GitHub repository and trigger a build when a git push is initiated.
Step 1: Set Up Git Repository
I already have a repository set up in GitHub where I will be pushing in my codes so I will skip this step.
Step 2: Set up CodeBuild
In AWS Console -> Developer Tools -> CodeBuild -> Build Projets, click Create build project.

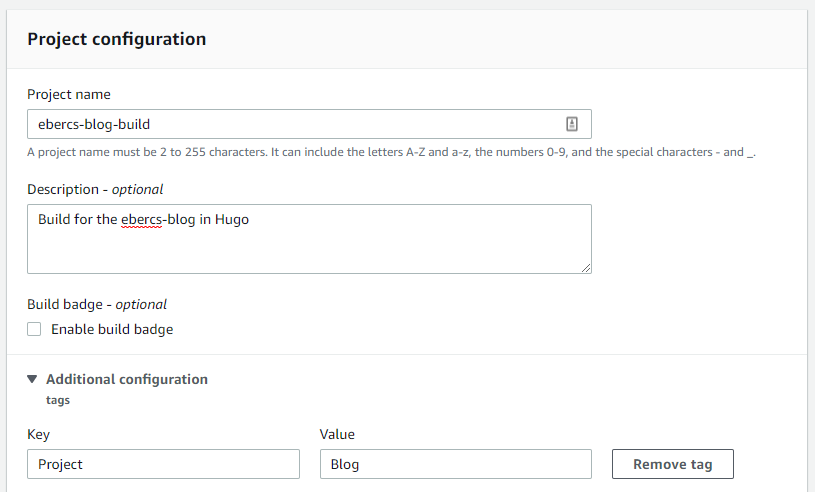
Input the project name and you may also add tags for easy reference of your resources.
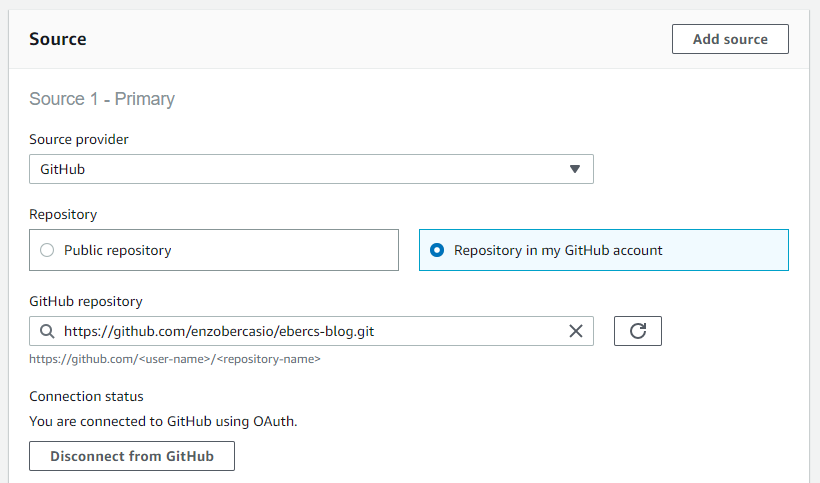
In the Source provider, select GitHub. Choose Repository in my GitHub account, then select your repository from the dropdown (you may need to connect to your GitHub account first if you haven’t done it yet).
In the environment image, select Managed image, select Ubuntu for the Operating system, Standard Runtime and Image.
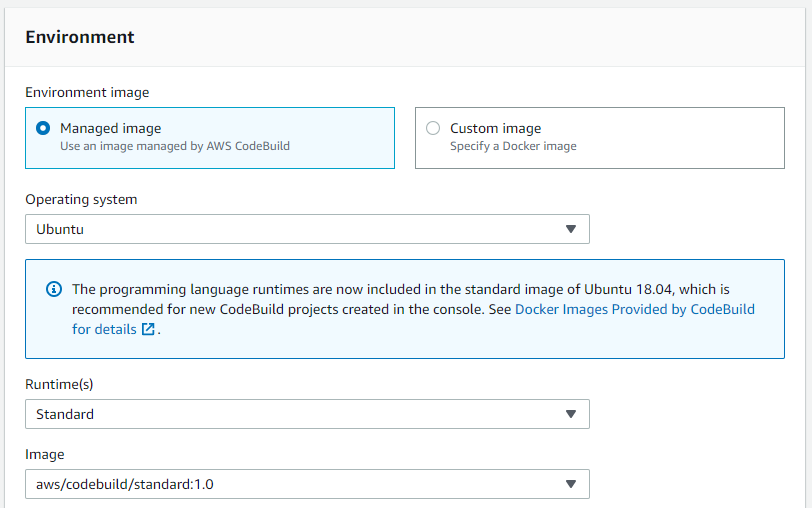
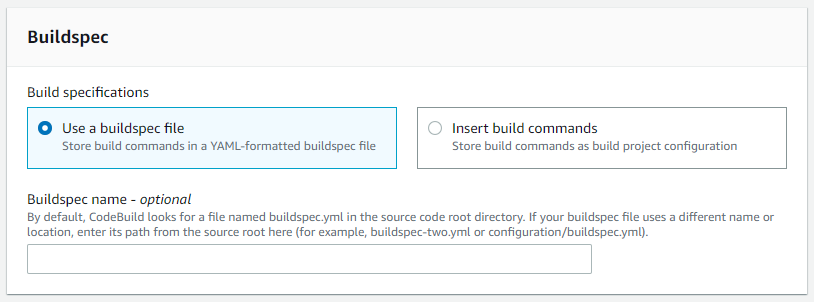
Select Use a buildspec file.
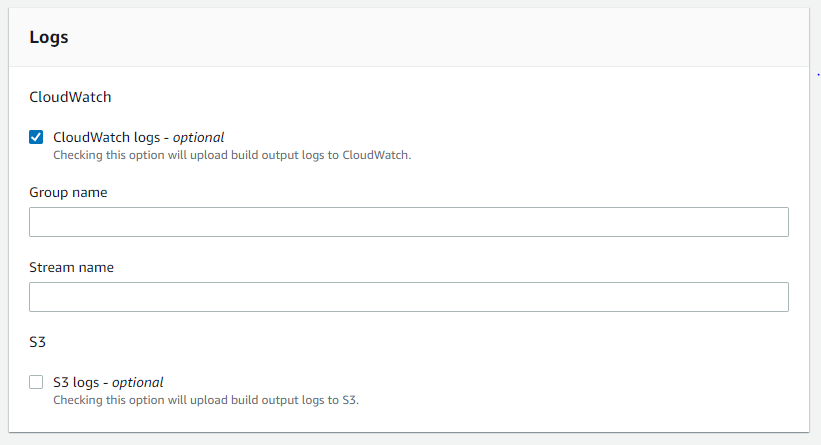
Select CloudWatch logs as this will be useful during build error troubleshooting.
Once all are set up click Create build project.
Step 3: Create CodePipeline
In AWS Console -> Developer Tools -> CodePipeline -> Pipelines, click Create pipeline.
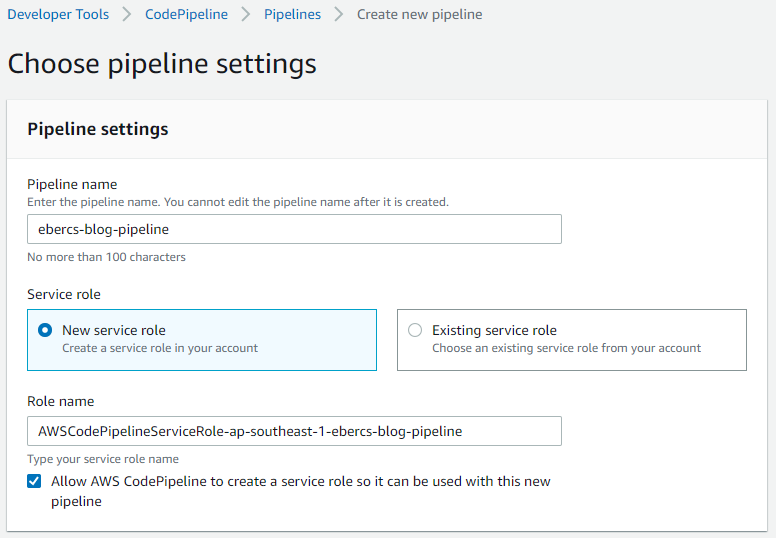
In the Source stage, select GitHub as source provider and GitHub webhooks as detection option. Select the repository and the branch from where CodePipeline will pull out the codes.

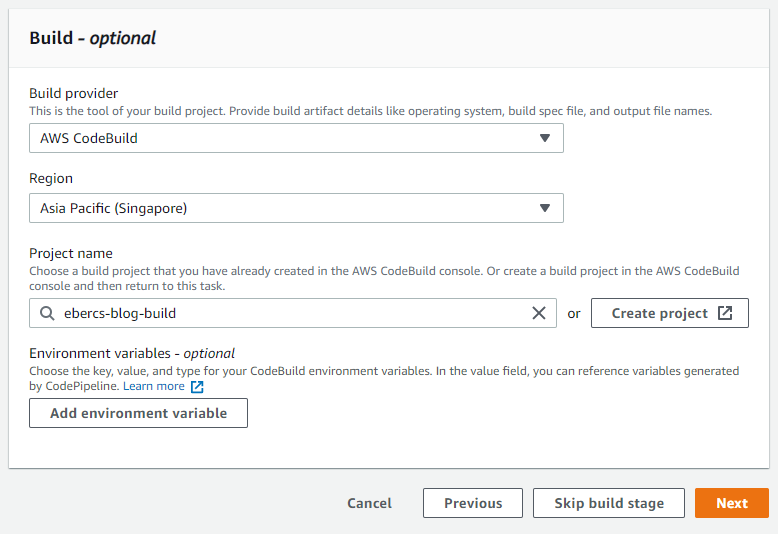
In the Build configuration, select AWS CodeBuild for the build provider then select the previously created build project name.
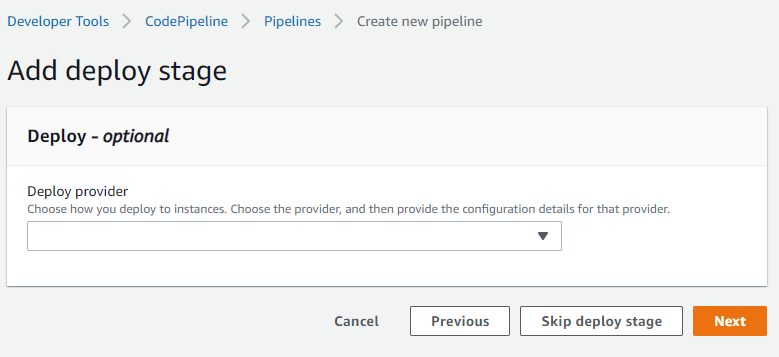
Skip the deploy stage as we will not be using it.
Review the config and click Create pipeline.
Step 4: Configure IAM
During CodeBuild set up, we created a new build role. We need to grant that role permission to our S3 bucket. Go to IAM -> Roles, select the created role and create a new policy. Add below permissions in the policy’s JSON editor.
  {
      "Version": "2012-10-17",
      "Statement": [
          {
              "Effect": "Allow",
              "Action": [
                  "s3:*"
              ],
              "Resource": "arn:aws:s3:::*"
          },
          {
              "Effect": "Allow",
              "Action": "s3:*",
              "Resource": [
                  "arn:aws:s3:::blog.enzobercasio.com",
                  "arn:aws:s3:::blog.enzobercasio.com/*"
              ]
          }
      ]
  }
Step 5: Set up Build Instruction
Next, we need to create a set of instructions for the BuildConfig. These are: * Install Hugo * Generate the Hugo site * Upload the public files to S3 buckets
To do this, create a new file called buildspec.yaml in the Hugo project root directory. Make sure to modify the variable s3_output with your actual S3 bucket name.
  version: 0.2

  env:
    variables:
      s3_output: "blog.enzobercasio.com"
      hugo_version: "0.49"

  phases:
    install:
      commands:
        - wget "https://github.com/gohugoio/hugo/releases/download/v${hugo_version}/hugo_${hugo_version}_Linux-64bit.deb"
        - dpkg -i hugo_${hugo_version}_Linux-64bit.deb
      finally:
        - hugo version
    build:
      commands:
        - hugo
        - cd public
        - aws s3 sync . s3://${s3_output} --delete --acl public-read
      finally:
        - echo "Build script finished running"
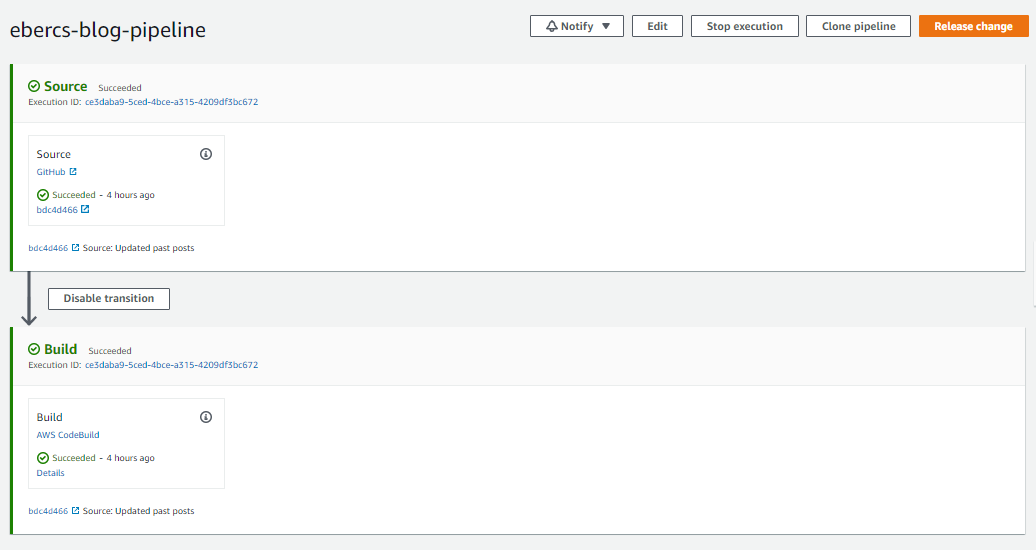
Step 6: Test the Pipeline
Now, go to your project directory and commit and push your changes to your GitHub repository. This will trigger your pipeline and perform a build of your Hugo site and deploy the new build to your S3 bucket.
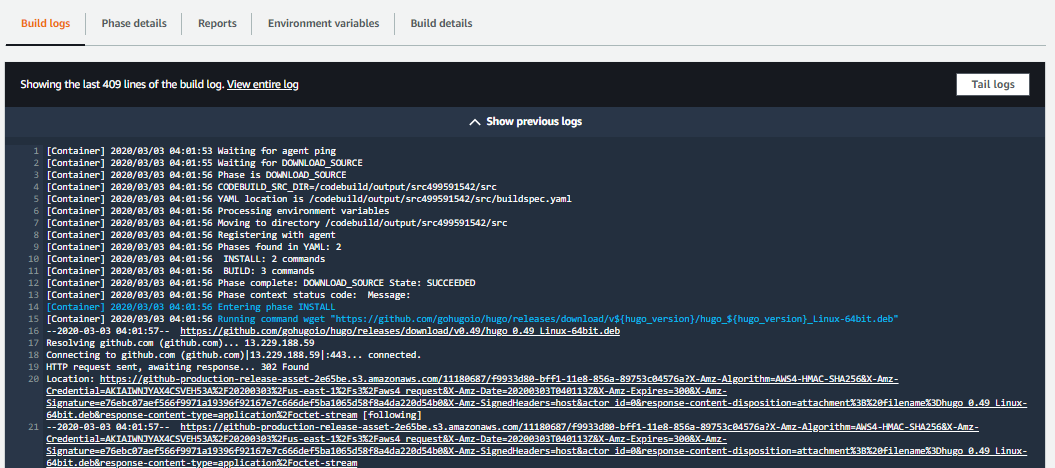
For troubleshooting failed build, you can check the Build logs which will show you at what stage the build failed and what the error is.